Tuesday, May 8, 2012

In three hours

From this:


To This:


In three hours.  One of the things I do is coordinate a local food pantry.  It amazes me every week how quickly the food disappears.  It amazes me that in our fairly well off part of Northern Idaho, that 6,450 people are estimated to be "food insecure", and that 53% of those are considered to be living in poverty.

But what amazes me the most is that God makes sure our shelves are filled to bursting again every week.

Next week, it will look like this again:


Like I said - Amazing.

Wednesday, April 25, 2012

Kitchen herbs


This is my rendition of a little herb garden I saw on Pinterest.    Started with some tin cans, and spray painted them red.  Drilled holes in the bottom for drainage.  After a couple of weeks, I covered all but the top strip with painter's tape. I waited primarily because I was busy, but waiting helps the first coat of paint to cure so that the painter's tape doesn't peel it off.


The next step was to spray-paint the top strip with chalkboard paint.  (Have I mentioned that I'm in LOVE with chalkboard paint?)


After that layer dried, I peeled off the tape, filled the cans with potting soil, and planted herb seeds.  Set in a sunny kitchen window, and watered occasionally, they soon sprouted in the cheery picture at the beginning.  These are almost ready to start using!

Future Food!


Got the computer back up and running, so I have a bunch of posts to get caught up on.  Back in January, I started thinking about the future garden, and all things green.  Our local recycling center quit taking milk cartons, so I started saving them.  I cut off the tops, and saved the bottoms.  It took about two months for us to save enough 1/2 gallon milk cartons, and orange juice cartons for this project.  Of course, there's only two of us, so with a larger family, this would happen faster.


Then the first week of March, I started tomato seedlings (three different varieties) and peppers (two varieties) in Jiffy pellets in a bright window.  By this past Saturday, they looked like this:


Time to transplant!  Using the milk cartons, I started by drilling three holes in the bottom of each:


(And if you want to know where to get the CUTEST little tough pink drill in the whole wide world, check out my Tomboy Tools website at:  www.tomboytools.info/bevbafus )

I don't worry too much about the tomatoes getting leggy - since each time you transplant, you can bury the stem up to the leaves.  You can even pinch off a few leaves, and bury more stem.  The tomatoes will grow roots from the stem, and become even more hearty.


Remember to label all your seedlings with the variety.  Of course, you can do this with a Sharpie or even masking tape, but the geek in me has to do this with technology, so out came the Brother P-touch:


I place all the milk cartons on some old lunch trays that I found at a yard sale, and they are sitting on a cool rack found at another sale.  I take them outside on sunny days.  These will probably go into the garden in late May. 

The seedlings have grown about three inches just since I transplanted on Saturday.  Can't wait for the yummy tomatoes and peppers!


Wednesday, March 28, 2012

Update to Dress a Girl!

A while back, I told you about sewing for others, specifically Dress a Girl around the World.  (see post here)

A team from Resonate Church went to Tijuana over spring break.  I just have to share this picture with you:


She's wearing one of our dresses.  Isn't she a cutie pie?


Want to learn to make sourdough?

A friend of mine has come up with a great new sourdough cookbook.  You can order it from his website, here:

http://www.designsandmoreonline.com/index.php?&tgt=IdahoSourdough


Sunday, March 18, 2012

Simple Sausage, Pasta & Kale

Sometimes you really need a simple recipe.  One that has very few ingredients, and can be made in under 20 minutes.  The other day, we were hungry, I was tired, and this was in the cupboard/refrigerator:


To make the dish, start by boiling water for the pasta.  Our city water smells horribly of chlorine - so thank goodness for the PUR filter we installed:


You can add salt and olive oil to the pasta water as you wish.

Cut the sausage into 1" pieces, and brown the pieces on medium-high heat while the pasta cooks.  I use a wok in order to have enough room for all the ingredients, but a large frying pan works ok, too.  The sausage pieces will resemble little meatballs.


While the sausage is browning, and the pasta is cooking, cut the kale into small pieces.


Before you drain the pasta, keep about 1/2 cup of the pasta water:


Put the kale in with the sausage after it is brown and cooked through.  Stir the kale around until it is bright green throughout, and starting to wilt:


Drain the pasta, (reserving the liquid, above) and add the pasta to the sausage and kale.  Stir in the 1/2 cup of pasta liquid.


Dish up!  Add a bit of parmesan cheese on top if you have it.  Enjoy!


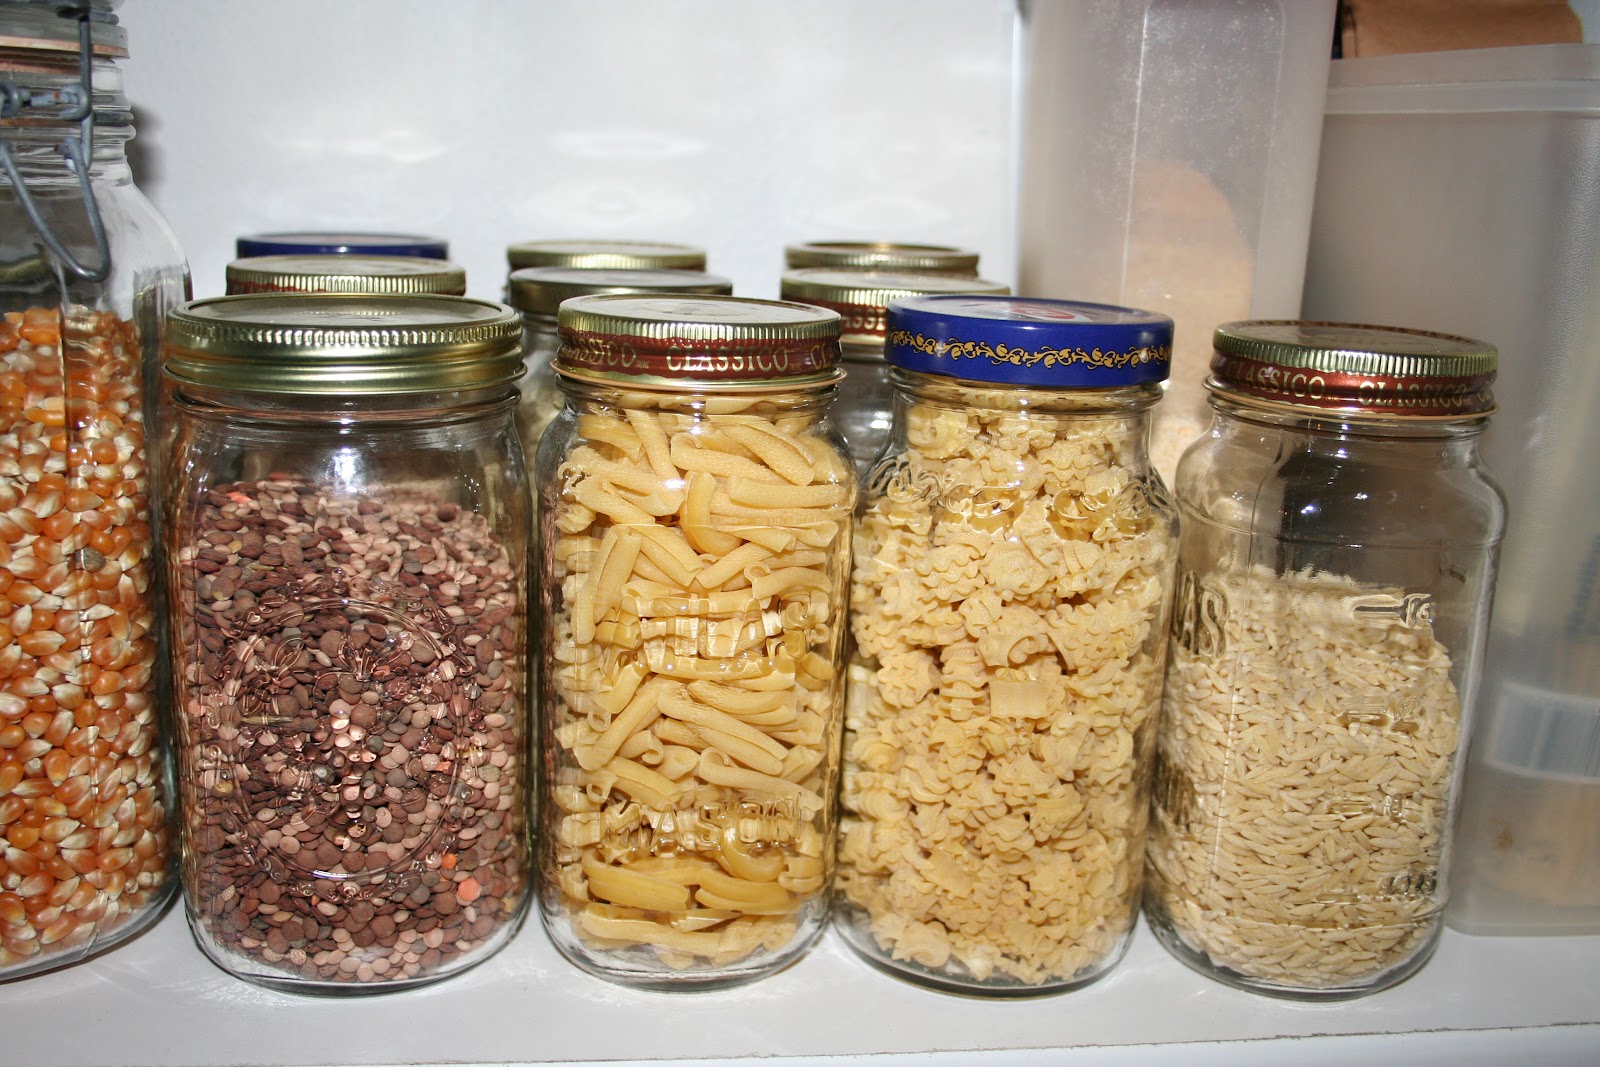
If you don't use all of a package of pasta because your family is small like ours, keep the remainder in glass jars in your pantry.  I use canning jars or cleaned spaghetti sauce jars:


Happy Eating!!!


Thursday, March 1, 2012

Legumes Part Deux (Smoky Garbanzo Treats)

Smoky Garbanzo Treats


Dried Garbanzo Beans (Chickpeas)
Chicken Broth or Water
Salt
Olive Oil
Smoked Paprika
Dried Parsley

There isn't a lot of measuring to this recipe - so there aren't any amounts listed above.  This is a shoot-from-the-hip type of recipe.

First, put about 2-3 inches of dried garbanzos in the bottom of a crockpot.  Add water or chicken broth (or mixture of both) to within 1 inch of the top of the crockpot.  Add some salt - 1/2 to 1 teaspoon is enough, unless you used chicken broth - then you might not need salt.  Cook on Low all night, or all day, depending on your schedule.


Drain the beans.  You can save the broth for soup or some other culinary wizardry if you want.

Place the beans in a large bowl, and sprinkle with olive oil, coarse salt, dried parsley and generous amounts of Smoked Paprika.  

The Smoked Paprika is the star of this show.  Relatively new to the spice shelves, if you haven't discovered this, you are in for a treat.  i use it for many things, not just this snack recipe.  Baked pork chops are heavenly with a liberal dash of smoked paprika.

Anyway, after you stir up your beans, spread them out in a single layer on a cookie sheet and bake them at 350 degrees until slightly crispy.  You can experiment with how crispy you like your bean snacks.  Some people like them still a little "mushy", some people like them really crispy.  However you do them, they won't last long!